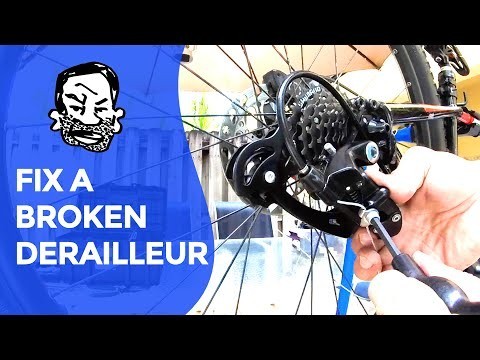
bicycle repair … | Derailleur repair for beginners
본문
※ 영상을 선명하게 보기 안내
- 유튜브 영상에서 오른쪽하단에 톱니바퀴를 클릭합니다.
- 팝업목록에서 "품질" 선택하세요.
- 원하는 해상도를 선택해주세요.
※ 모바일에서 Wifi가 아니라면 데이타가 소진될 수 있으니 주의바랍니다.
bicycle repair …님의 Bicycle Repair Tips강의 청각장애인을 위한 자막

replacing a broken derailleur can be an
intimidating project but it's really not
that difficult here's a basic overview
for first-timers first assess the damage
it's possible that your derailleur is
fine and you only need to replace the
hanger this part is designed to fail in
order to protect your frame as often as
these break they're pretty hard to find
since every frame uses a different one a
shop that specializes in mountain bikes
will usually carry the largest variety
but you can always shop online if you
strike out with basic tools you can
replace your hanger just by looking at
how the old one was attached a little
tinkering and you'll be back up and
running if you see more damage than just
the hanger you'll need to buy a new
derailleur which is the position we're
in right now with this bike check your
chain two because there's a chance it
got tangled up in whatever wreck you are
in another part you may need to replace
is the shifter cable unless you had
plenty of extra lengths in the old one
if you haven't bought replacement parts
yet take note of how many gears you have
on your cassette the chain and
derailleur you buy will be specific to
this number unless you have exotic or
expensive parts in your bike you can mix
a mono SRAM or off-brands with each
other and everything will work fine in
all cases the first step is to take your
chain off just isolate the master link
and give it a squeeze with some narrow
pliers pull the chain out and you're
ready to remove the old derailleur most
railers are fastened on with a hex bolt
so you'll need your allen keys for this
most of the time you can reuse your
shift cable but if it's damaged you'll
need to run a new one we'll save that
for a different video next fasten the
new derailleur to the bike making sure
the screw is behind a notch on your
derailleur hanger this screw is designed
to keep the upper cog from crashing into
your cassette but tightening it too much
will give you problems shifting once you
put the chain back on you can adjust it
as necessary all the railers have two
limiting screws to keep the chain from
shifting off of the cassette these are
labeled H for high gear and L for low
gear if you look at your drivetrain from
the back side you can manually push the
derailleur to its higher and lower
limits look at the upper cogs position
in relation to the years on the cassette
here we can see that the derailleur can
move way too far past the lowest gear so
we'll tighten the L screw to limit it do
this for the other end of the cassette
as well
next we'll attach the gear cable first
make sure your shift it into the highest
gear or to put it another way the
smallest gear this is usually the
smaller lever on the right side of your
handlebars next attach the gear cable to
the derailleur make sure there's no
slack in the cable whatsoever if it's a
new cable you're likely going to need to
tighten it again while adjusting since
it's going to stretch and settle into
place we'll go over that in a minute -
now we're ready to put the chain back on
pull the rail or cage downwards and drop
the chain behind the cassette and in
front of the upper cog the chain then
goes around the back side of the lower
cog and back up to the front of the bike
if you have a front derailleur make sure
you run the chain through it as well
your master link can be reattached
simply by snapping it together and
pulling on the chain now you can turn
the cranks and try shifting chances are
it's going to shift terribly unless
you're some kind of a derailleur Jedi
first shift up and down like crazy to
get the cable settled into place and
then start at the bottom and work your
way up if the first click on your
shifter doesn't get the chain onto the
second cog it means you need to tighten
your cable more if all you need are
small adjustments you can just loosen
the adjustment barrel on the back of the
derailleur which tightens the cable once
you get the tension right try shifting
up and down one by one by now you know
how the stop screws and tension
adjustments work so play around with it
until your shifting correctly this whole
process is way easier if you have a bike
stand but you could also just turn the
bike upside down and work on it that way
so that's it you just change your first
derailleur time to celebrate by breaking
it again thanks for watching and I'll
see you next
I need a new trailer that was that was
terrible this is fucked


댓글 0개
등록된 댓글이 없습니다.